
Cart is empty
DIY Art Display Project
Category: Blogs
Posted: 07-27-2015 05:35 PM
Views: 3608
Synopsis: Create the perfect place to display and organize your children's (always accumulating) artwork!
Posted: 07-27-2015 05:35 PM
Views: 3608
Synopsis: Create the perfect place to display and organize your children's (always accumulating) artwork!
|
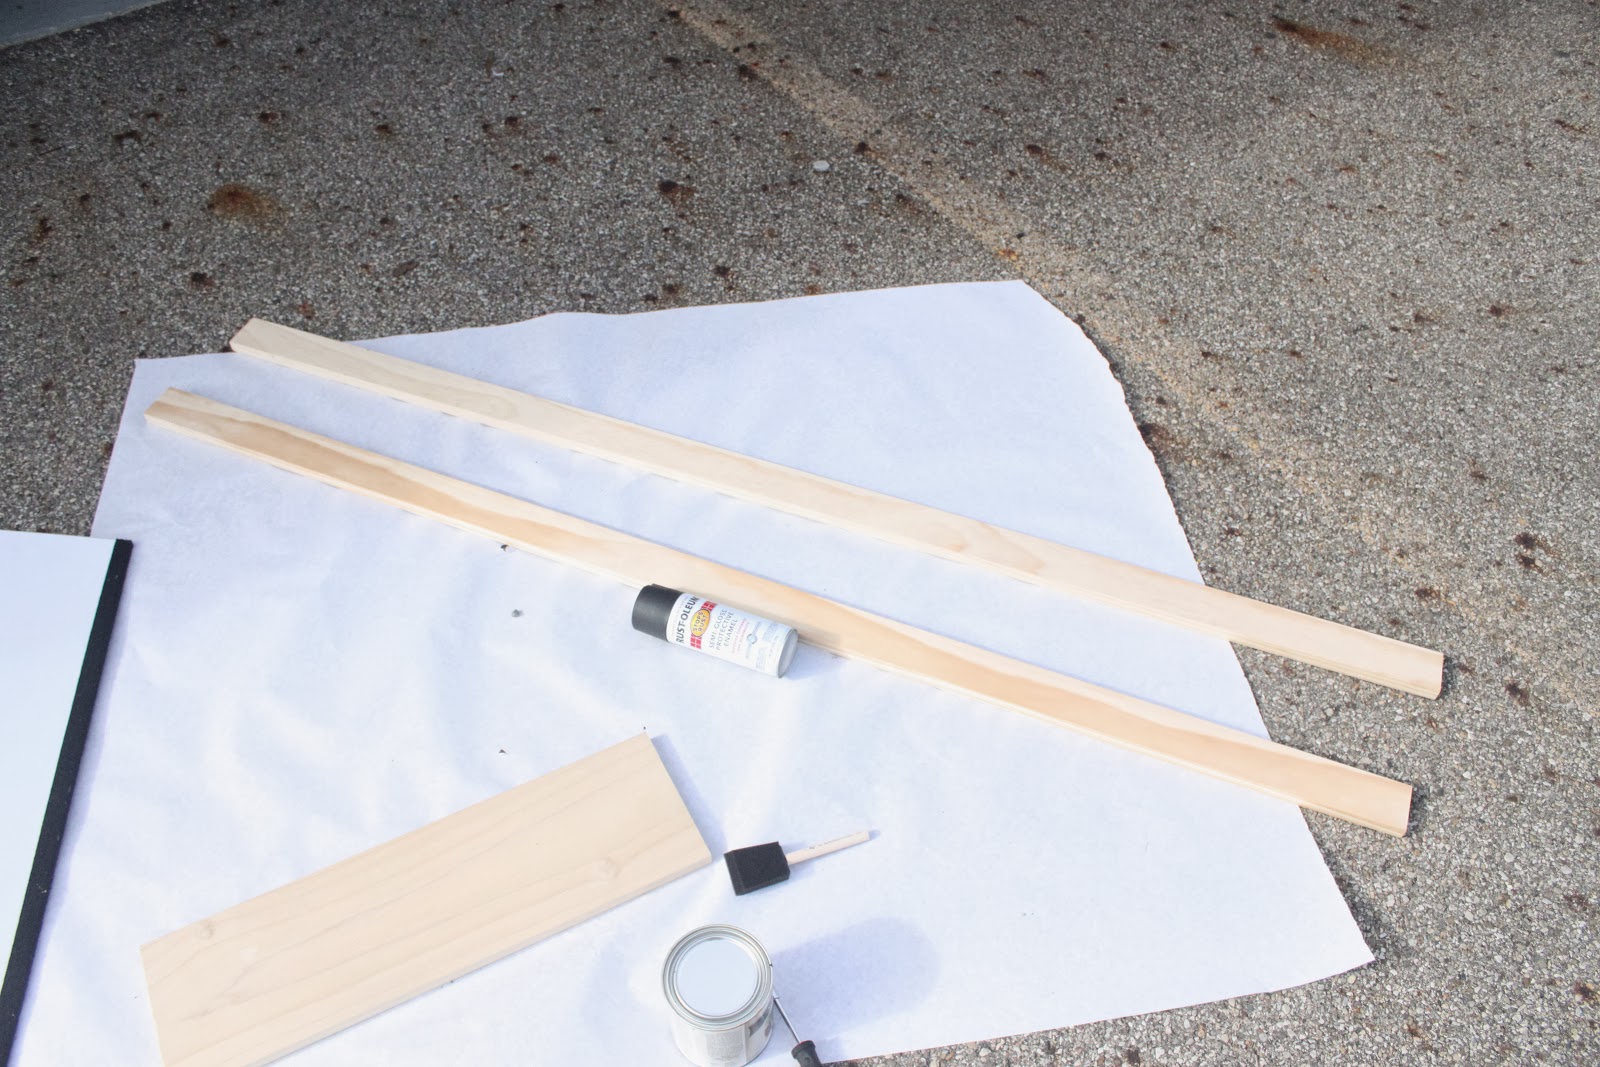
Is there a flurry of paper every time you open your refrigerator door? If you have kids (even just one!) you know what I mean. Their artwork is everywhere! I love having it proudly displayed, and they love it too, but I needed a new way to organize and display it without putting tape and push pins all over my walls! Of course, I went straight to Pinterest to help me out with this one. I knew I wasn't the only one with this problem. I decided that adding a couple of pieces of wood with some clips was the perfect solution. It was a simple project I could do with just a few supplies, that would allow me and my daughter to switch out her always accumulating artwork, and look great in my home - with a little help from Beautiful Wall Decals! DIY Art Display Supplies
Some of the supplies ready to go
Step 1:
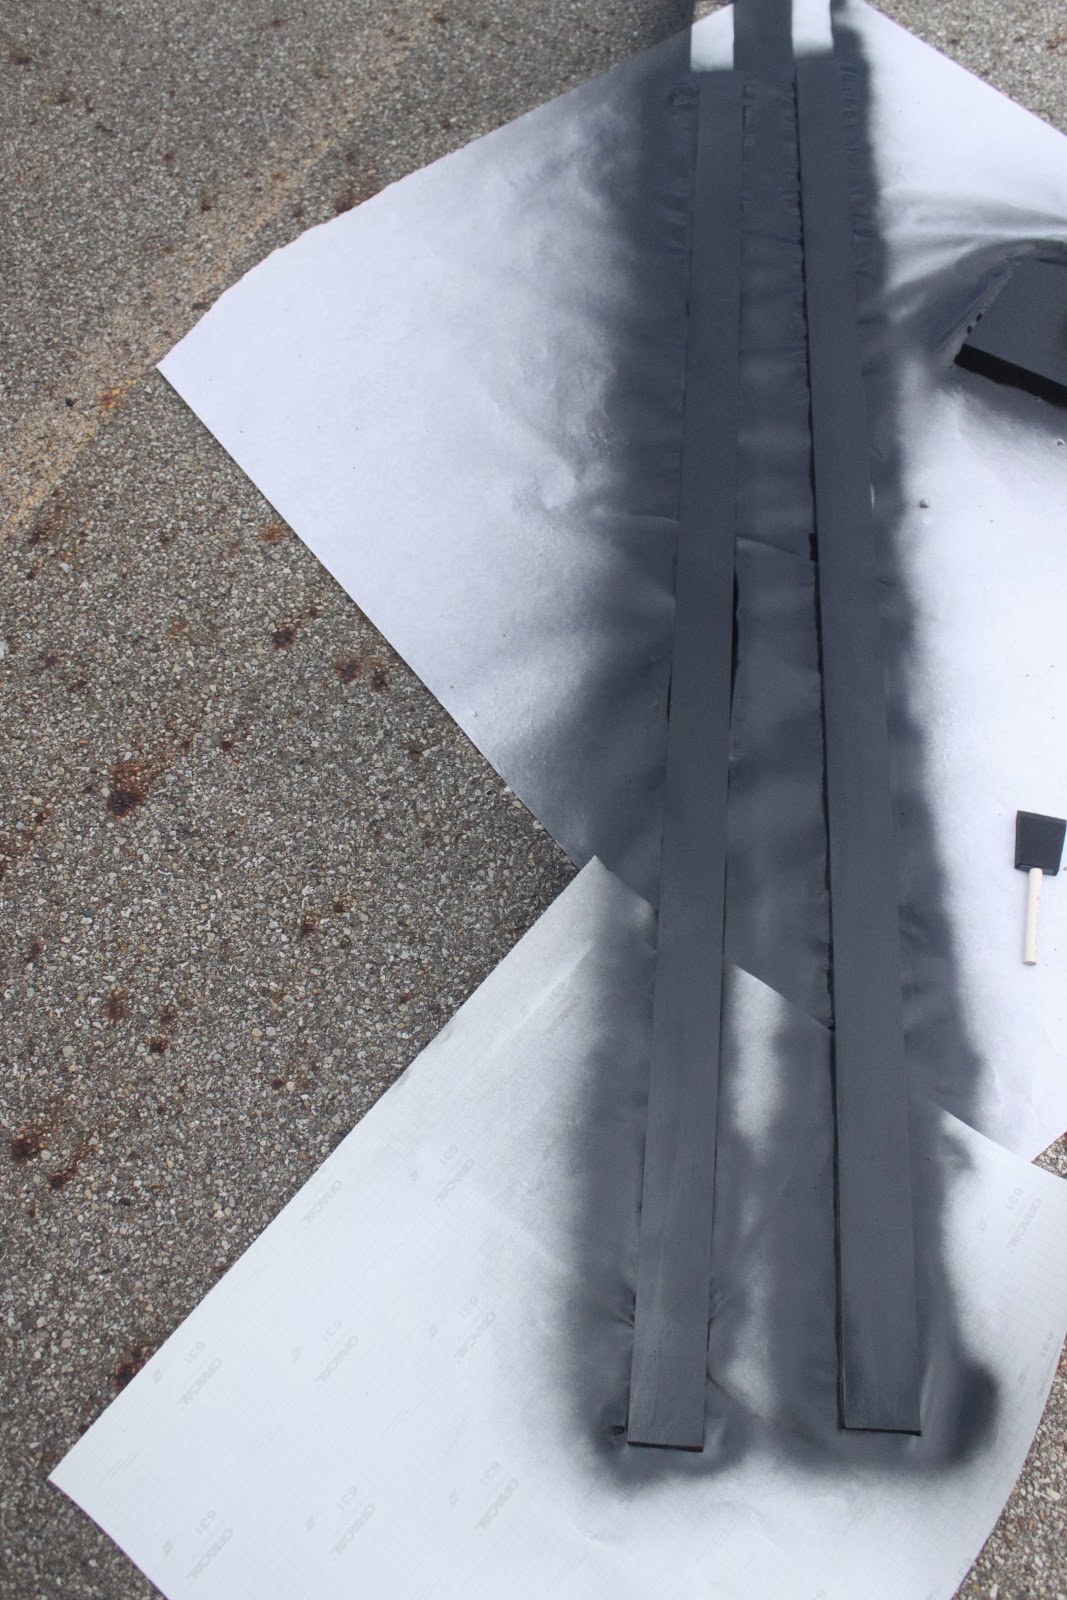
Paint your boards. Don't forget the sides! Let it dry completely.
Step 2.
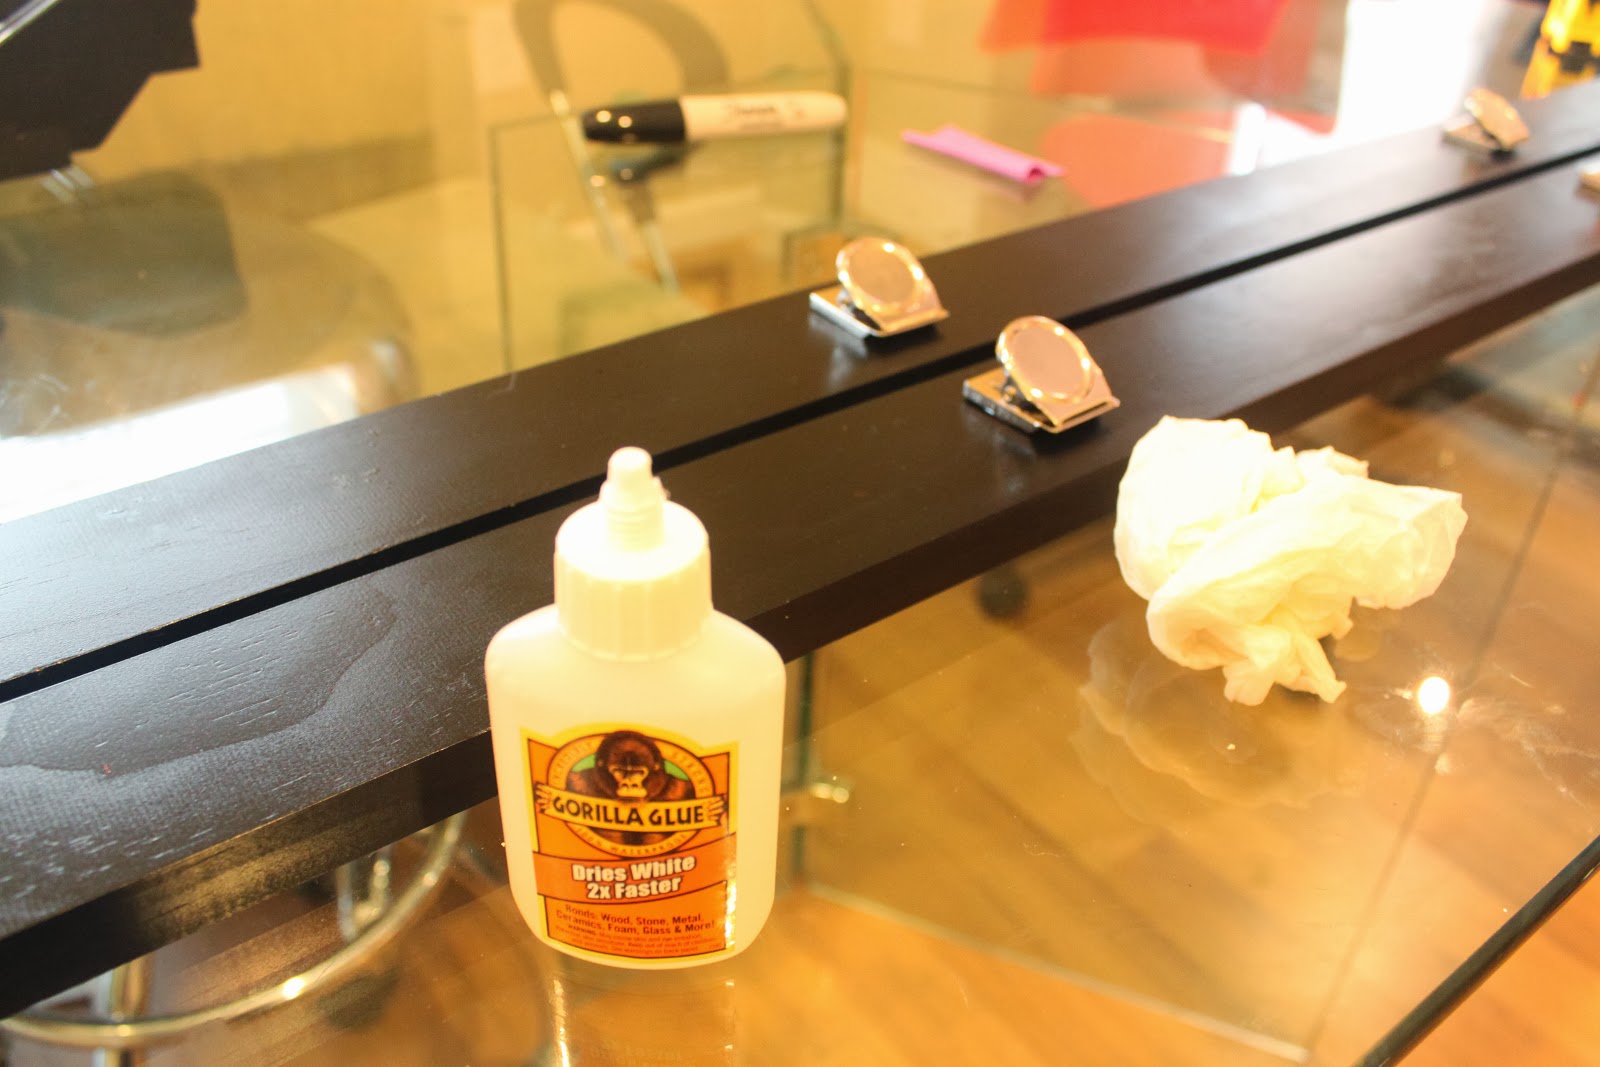
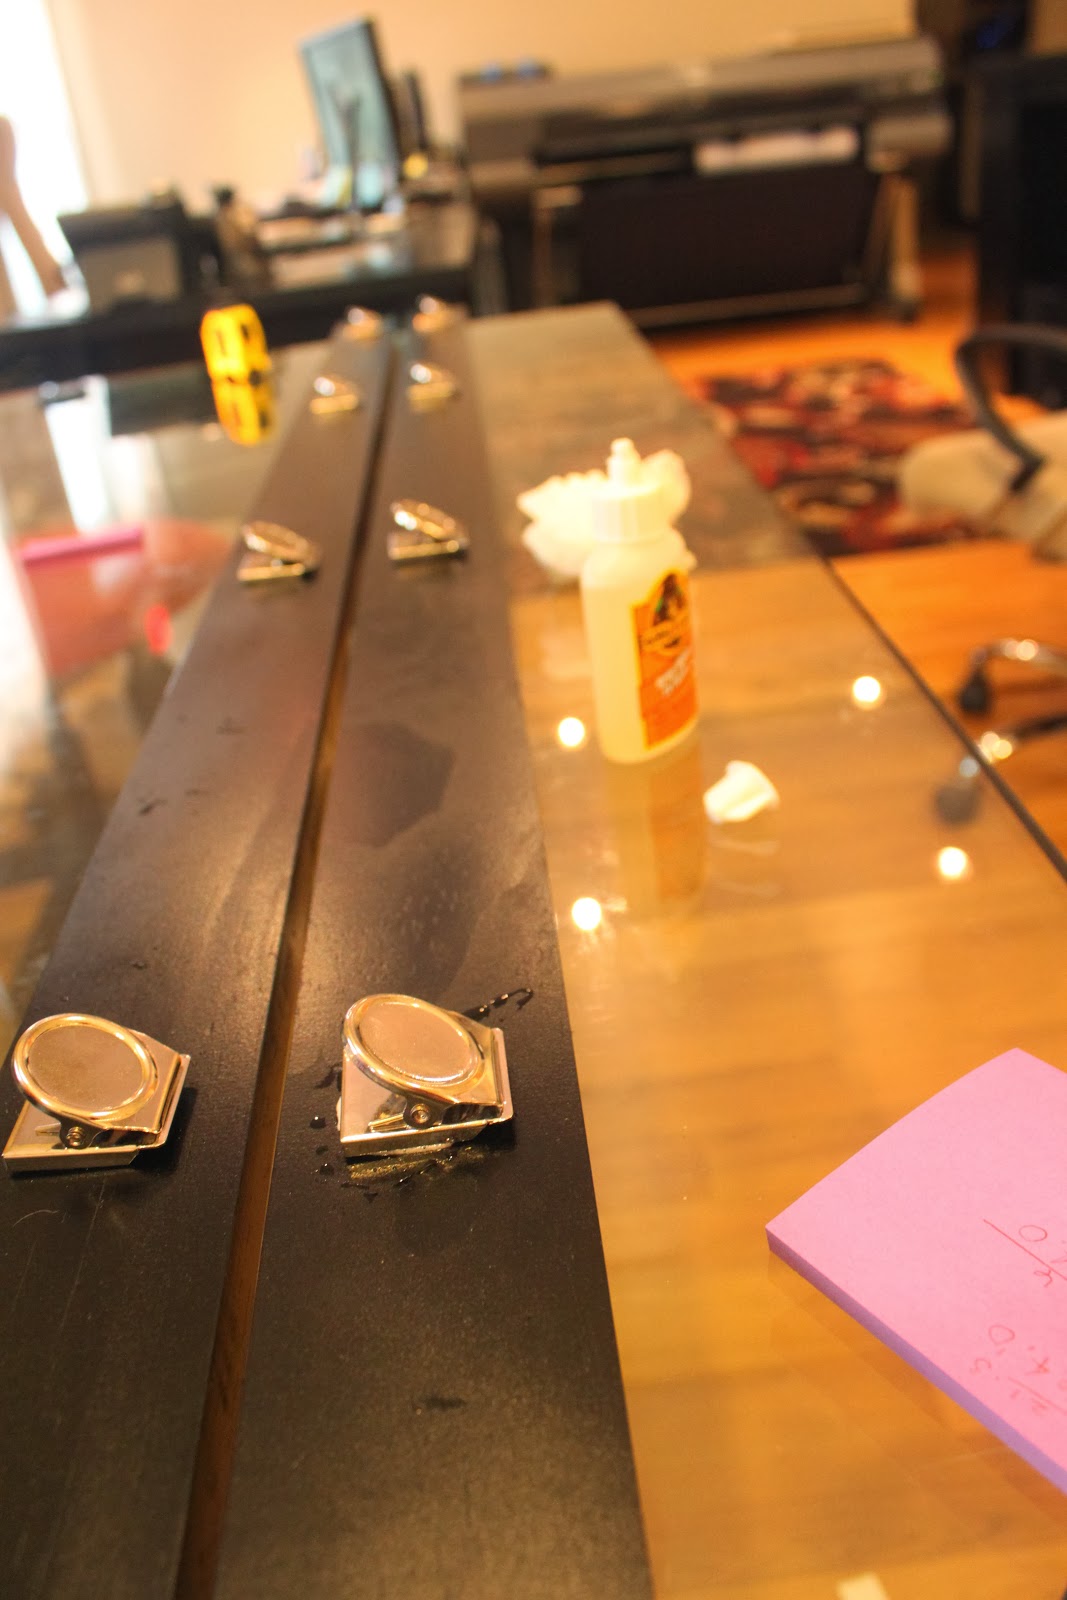
Apply the clips. You can determine the ideal distance by gathering up some artwork and laying it along the boards as you would like them displayed. I didn't really measure, but you can if you know it will bother you later that they are not perfectly spaced. (You know who are you!) Once you have them spaced, simply apply glue to the back of your clips and position them. Let it dry overnight.
Step 3 Now you're ready to hang them up! You can use any method that works best for you and your walls, but my husband just screwed this directly onto the walls. No muss, no fuss! Here is where your level comes in handy. These are long boards, so you want to make sure you're level on both ends and the middle. If you're using two, as I did, hang some paper on the first board to make sure that you leave adequate spacing between the two. Make sure to leave room for your decal on top!
Step 4 Apply your decal! Beautiful Wall Decals has so many great options for a kid's art wall, so I had a hard time deciding. I finally chose the "Every child is an artist" decal. Take a look at their installation video to see just how easy it is to do.
We've always been proud to display our daughter's artwork, and now it's even more visible and organized. We're so happy with the way it turned out!
|
Comments on DIY Art Display Project
-
 Best Selling Decals (66)
-
 Artistic Wall Decals (88)
-
 Words & Wall Quotes (74)
-
 Trending (33)
-
 Young at Heart (189)

Their online chat helped me connect with a person! I am someone who likes the human connection, so for me that made all the difference.
Every person I ""spoke to "" online at beautiful walls was helpful, courteous, friendly, and patient! No matter how many times I had a question or needed to make a change they quickly and kindly responded! I would (in fact I already have) recommend them to my friends and family!
Feb 3, 2016
-
Life is Not Measured Wall Decal
 $24.99
 -
Family Where Life Begins Wall Decal
 $19.99
 -
Home is Where Love Resides Wall Decal
 $44.99
 -
Chanel Wall Decal
 $19.99
 -
Ornate Baroque Wall Decal
 $39.99
 -
Bubble Dot Circles Wall Decal Pack
 $31.99
 -
Blossom Tree Large Wall Decal
 $79.99
 -
Basketball Lines Wall Decal
 $34.99
 -
Color Sample Card
 $3.00
$3.00 -
Custom Wall Decal
 $10.00